PICTURE BY PICTURE INSTALLATION PROCEDURE
Built on experience, we took an already great truck cover and made it better! Redesigned for truck owners, driven by consumer feedback, made in the USA – the result is an evolution of perfection! Amongst our priorities is obviously making installation of our quality roll cover as easy and secure as possible. We are continually working on ways to improve as you will notice with our new cover and how professional the installation procedure is.
At Truck Covers USA, we insist on a high level of customer satisfaction and carefully inspect each roll cover prior to packaging and shipping. If you have any questions/concerns about installation, accessory compatibility, product specifications, or other specific needs, please do not hesitate to call our Help Line at (888) 808-2872, Monday – Friday, 8am – 5pm PST.
The Truck Covers USA team is extremely proud of our product and is looking forward to providing you with professional, expert service as long as you own your roll cover.
INSTALLATION VIDEO
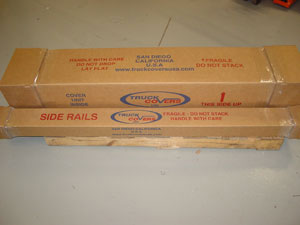
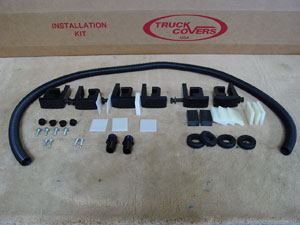
0. Installation kit and packaging for Roll cover and Side rails (see images 0 & 0a below)
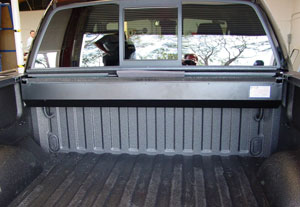
1. Install Canister and centralize on front of the truck bed Insert the canister into the truck bed with the lips of the canister resting on both sides of the truck bed. Position the canister in the CENTER of the bed. (see image 1 below)
2 & 3 Install Side rails
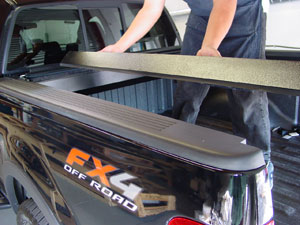
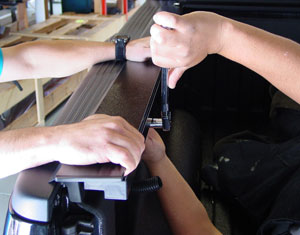
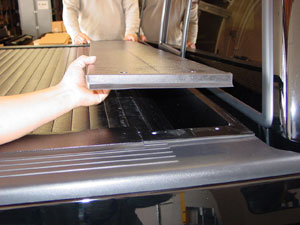
Locate the square cavity (Fig. 2) in the “LH” side rail and insert the “LH” rail bracket of the canister into this area sliding the “LH” side rail forward until it is up against the canister. Locate the square cavity in the “RH” side rail and insert the “RH” rail bracket of the canister into this area sliding the “RH” side rail forward until it is up against the canister. (see images 2 & 3 below)
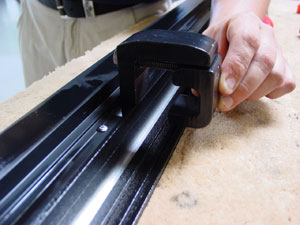
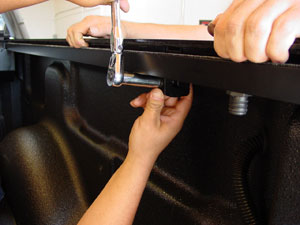
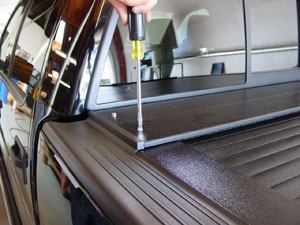
4.& 5. & 6. Secure side rails and align curtain with Side rails at tailgate. Using one side rail clamp and one shim (the thinnest one available), Clamp the side rail clamp and the shim at the left rear of the truck bed. Follow the same procedure on the right hand side. If two people are installing the side rails, one should pull the rail tightly into the truck bed while the other installs the clamps. (see image 4, 5 & 6 below)
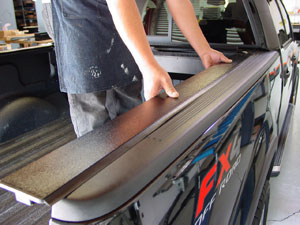
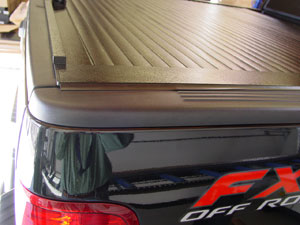
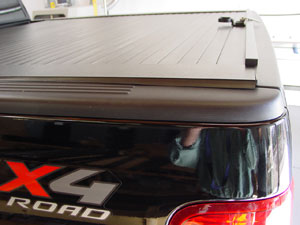
The clamps will hold the side rails in place so you can unroll the curtain to ensure that the curtain lines up with the side rails of the tailgate as Shown in Pic 7 & 7a (see below)
• Draw out the curtain to ensure that it runs free of obstruction. Install side rail clamps and shims to the left side rail. (4 clamps for Short bed, 8 clamps for long bed)
• Install side rail clamps and shims to the right side rail. (4 clamps for Short bed, 8 clamps for long bed)
• Make sure all clamps are secure.
8. – 10 Fitting the Canister Lid
• Draw out and lock the curtain in place.
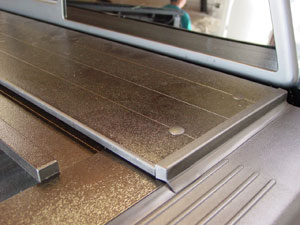
• Remove the protective tape from the side rails.
• Place the canister Lid over the canister at the front of the truck bed.
• Check to ensure the canister lid is positioned evenly on either side on the truck bed. The end slat bump rubber should face the tailgate of the vehicle
• Line up the holes on the canister with the holes on the lid.
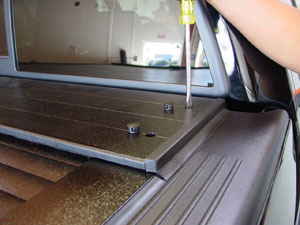
• Using the lid screws (4x slotted hex bolts), secure the lid into position and place on the lid screw caps Pic 9 & 10.
11 – 14. Fitting the Drain Hoses
• Unlock the curtain and allow it to roll into the canister.
• Mark an appropriate spot on the truck bed approximately 5” (127mm) directly below the rear drain plug.
• With the 1.25” (32mm) Hole Saw, drill a hole through the inside panel of the truck bed (and liner) beneath the drain plugs
Note: The position of the hole is optional and can be positioned wherever the customer prefers it to be as long as it drains out of the truck bed. The manufacturer recommends hole location to be in an area where the drain holes will not be damaged by normal use. Care must be taken not to damage the outside of the truck bed.Apply Rust Preventative wherever drilling occurred in the truck bed.
• Fit Drain Hose Grommets in the drilled holes
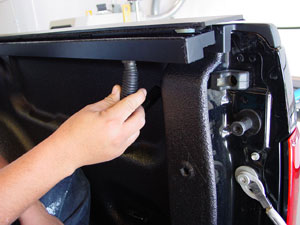
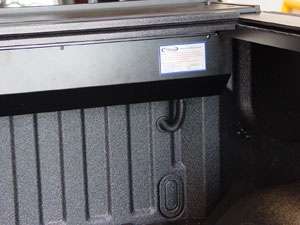
• Cut a suitable length of drain hose and push one end over the drain plug and the other end through the hole in the grommet (Fig. 14).
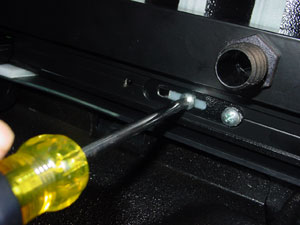
15 – Adjust and secure lock block
Once the correct locking position is located, secure the lock block in place by screwing a lock block screw through the predrilled hole behind the adjustment slot. This procedure takes place once the curtain has been aligned with the side rails and the cover is locking easily. This procedure allows for a final adjustment of the cover at the tailgate
Note: If the key is difficult to turn, the lock bush needs to be adjusted slightly.
16 – 17 . Complete installation
